- Ergonomic Products
- Ergonomic Furniture
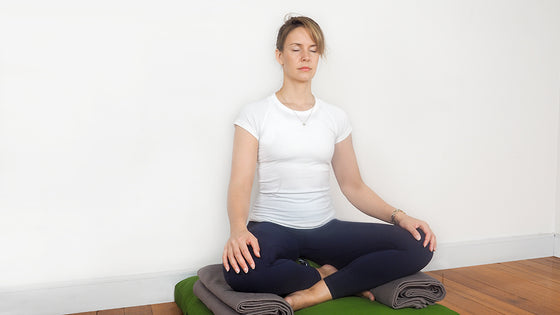
- Yoga
- Meditation
- Pilates
- Air Treatment
- Blog
- Resources
- About Us
- Wholesale
- Ergonomic Products ▼
- Ergonomic Furniture ▼
- Yoga ▼
- Meditation ▼
- Pilates ▼
- Air Treatment ▼
- Blog
- Resources ▼
- About Us
- Wholesale
- Sign in
How to remedy sore wrists and get back on the yoga mat.
I bet you don’t give your wrists a lot of thought, do you?
Until they hurt….
And if you’ve ever suffered from sore wrists (it’s pretty common) you’ll know that wrist pain is a right pain, impacting many everyday activities, including your yoga practice.
With a long list of poses that rely on strong, healthy wrists, it’s essential for us yoga aficionados to know how to care for them, so we can enjoy everything we do, pain-free.
Take some time to get to know the wrists, and learn how to protect them, on and off the mat!
Understanding the wrists 101
Each wrist consists of 8 small bones of varying shape, organised rather loosely into 2 rows of 4. The top row connects the wrist to the bones of the hand, while the bottom row meets the 2 arm bones (radius and ulna). A tight weave of tendons hold everything together. The wrist is classified as an ellipsoidal (condyloid) type synovial joint, allowing for smooth movement along two axes. This means when it comes to movement, wrists can do the lot - flexion, extension, adduction and abduction - pretty handy, huh?
Speaking of handy, here’s a quick guide to those movement terms:
Flexion - describes a straightening movement that decreases the angle between body parts.
Extension - the opposite of flexion, describes a straightening movement that increases the angle between body parts.
Adduction - movement of a body structure or part toward the midline of the body, or the midline of a limb.
Abduction - movement of a body structure or part away from the midline, or midline of a limb.
Teaming up with the hand and arm muscles, the wrist allows us to perform tasks that are complex, and require control. We often refer to these tasks as “fine motor tasks” - think brushing your teeth, turning a key in a lock or writing.
When you take all these (literal) moving parts and capabilities into consideration, it’s no wonder the wrists are prone to injury. And with such a demanding job description, we certainly need to look after them.
Yoga and the wrists
A typical yoga class demands a lot from the wrists. Extension of the wrist occurs when the back of the hand is raised, and is the wrist movement most frequently performed on the mat. Poses where the wrists are in extension include Downward-Facing Dog (Adho Mukha Svanasana), Upward-Facing Dog (Urdhva Mukha Svanasana), Cobra (Bhujangasana) Cat (Marjariasana) arm balances and some inversions, like Handstand (Adho Mukha Vrksasana).
But it’s not just the position of the wrists that can lead to problems. Think about what we’re asking the wrists to do in these asanas - to hold most or all of our body weight! And for some poses, we ask this not just once, but over and over again within the flow of a fast-moving vinyasa sequence. No wonder the wrists protest!
Caitlin Daley, physiotherapist and yoga teacher from Newcastle, NSW, further explains why yoga may put the wrists at risk. She says ‘The anatomy of the wrist doesn’t lend itself to withstand high load, torsional force or repetitive movements, however, like any area of the body, it will adapt’.
So while our dear wrists aren’t properly equipped to hold us for long, they put up with the demands to do it anyway. But be warned - when the demands become unreasonable, the wrists (as any part of the body) make their displeasure loud and clear - with pain.
What causes the ouch
In a strong, healthy wrist, connective tissue surrounds each of the wrist bones, serving as a cushion between bones.
In a wrist that’s weak or not flexible enough to stop the bones from touching, they may collide, causing impingement.
It’s this impingement that aggravates the surrounding tendons and ligaments of the connective tissue and causes the pain.
Don’t blame pain on the mat
Before ditching your practice to save your sore wrists, investigate other activities as possible contributors to the pain.
Remember, the wrists work hard every day, making a myriad of tasks possible, from typing, chopping vegetables, opening doors and knitting, to name just a few. As it’s likely any wrist pain is triggered by a combination of tasks, including yoga, it’s worth assessing everything your wrists do on and off the mat.
How to protect the wrists in your yoga practice
Got a new found respect for your wrists? Discover some easy ways to give them the TLC they deserve. We’ve put together 7 strengthening and protection strategies to help your wrists stay happy and healthy.
Share the load
When your wrists get the call-up for a particular yoga pose, think outside the square - what other parts of the body could you recruit to share any weight-bearing responsibilities with the wrist?
Consider spreading the weight through the entire hand. Press down each finger pad, and activate the webbing between the thumb and index finger of each hand.
In Downward-Facing Dog (Adho Mukha Svanasana), for example, ensure the legs are switched on and that weight is evenly distributed between the hands and feet.
Double-down on alignment
Correct alignment and awareness is key for injury prevention at yoga. For poses involving the wrists, pay close attention to cues from your teacher, such as placing the palms shoulder-width apart, and spacing the fingers evenly.
Set up for success
Do a quick check on your equipment before getting your asana on. What’s underneath your mat? Firm, supportive flooring or a thick, spongy carpet? Wrists prefer the stability and feedback offered by hard flooring.
In addition, use a non-slip mat and have a towel handy to keep your hands and wrists dry - particularly if you’re prone to getting hot and sweaty.
Modify and substitute
There’s no need to skip your practice altogether while your wrists recover from injury. Instead, modify or make substitutes for culprit poses until you feel ready for the full expression of the pose. Some useful changes include:
Swapping Downward-Facing Dog for Puppy, or Dolphin
Making fists with the hands for Cat pose or Plank
Subbing baby Cobra or Sphinx for Cobra or Upward-Facing Dog
Slow your flow
Of course, there’s a certain pace to a vinyasa-style class, and a big temptation to keep up with your teacher and classmates. Go slow. Include breaks between wrist intensive poses, and take the time to perfect your alignment before placing weight on the wrists. When you’re injured, listen to your body and ease up where necessary.
Take a break
While your wrists get back on track, use the time to explore other facets and styles of yoga. Bliss out with restorative yoga, or enjoy longer meditation sessions, for example.
Check your attitude
Truthbomb - attitude is often a big contributor to pain and injuries sustained on the mat. Are you pushing or forcing your body into a shapes it’s not ready or suited for?
Remember to flavour all you do, including your yoga practice, with self-compassion and commitment to doing no harm. Check in with your attitude and make any necessary adjustments.
Wrist rescue: 3 essential exercises
Caitlin our physio and yoga teacher friend, offers the following “wrist preparation exercises” to help the wrists to adapt to load, such as the forces of bodyweight placed on it during a yoga class.
When performed daily, these exercises assist in preventing injury by improving joint mobility, and strengthening the wrists. The first 2 exercises offer a lovely stretch for the forearms too.
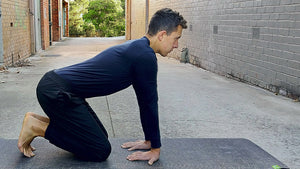
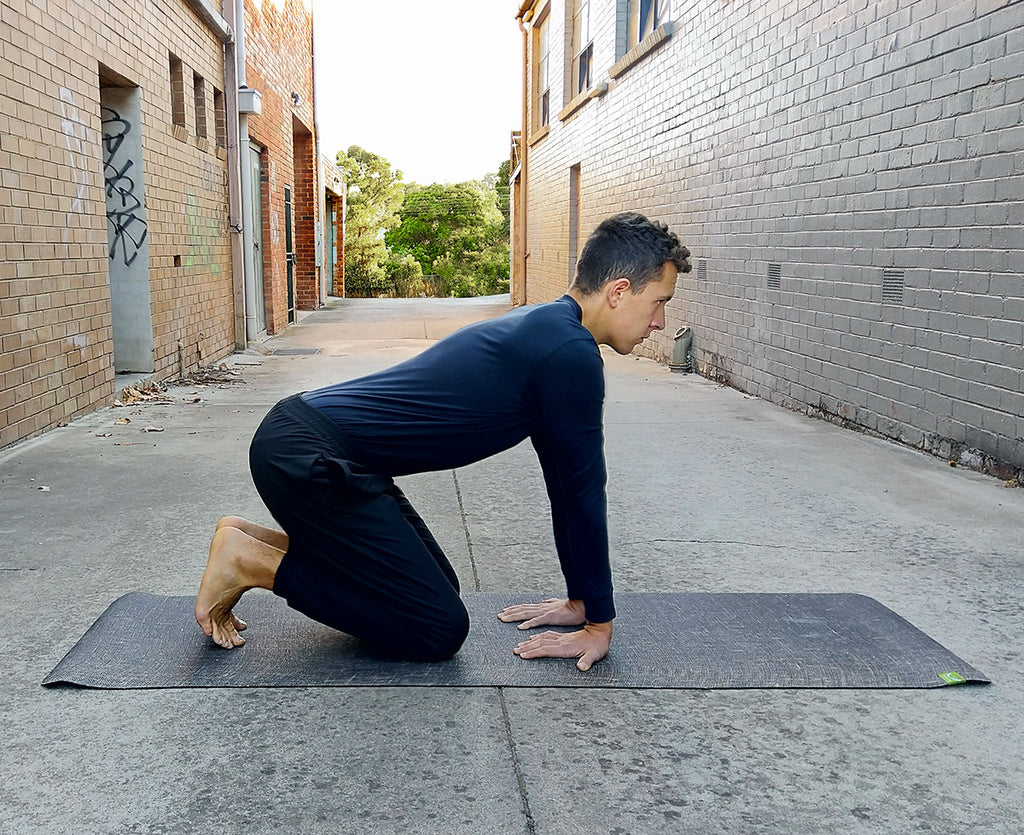
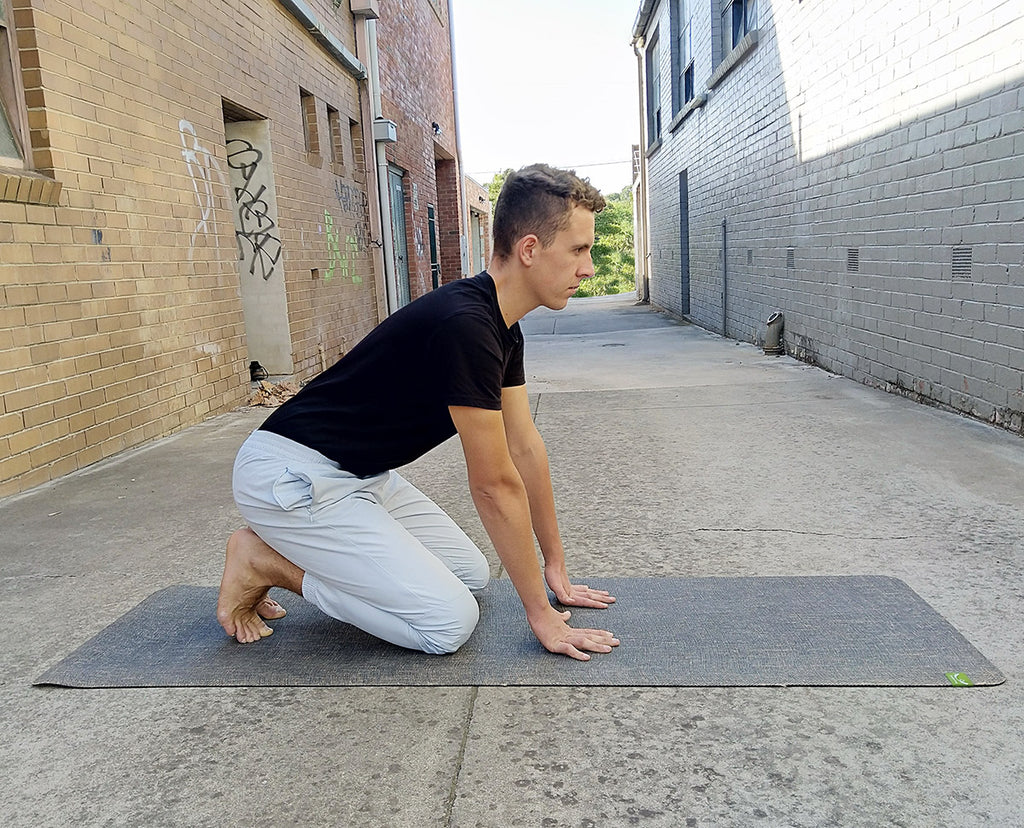
Get ready: Come into the base position on your mat, on hands and knees. Make sure the wrists are underneath the shoulders, and knees underneath the hips.
1. Circles n stretch, palms down
Have the fingers pointing toward your knees, palms down. Spend 1-2 minutes here, add a gentle circular movement in both directions.
2. Circles n stretch, palms up
From the base position, have the fingers facing toward your knees, palms up
As above, initiate a circular movement (small circles will be more tolerable in this variation)
Stay here for 1-2 minutes, while working toward straightening your elbows for the entire period
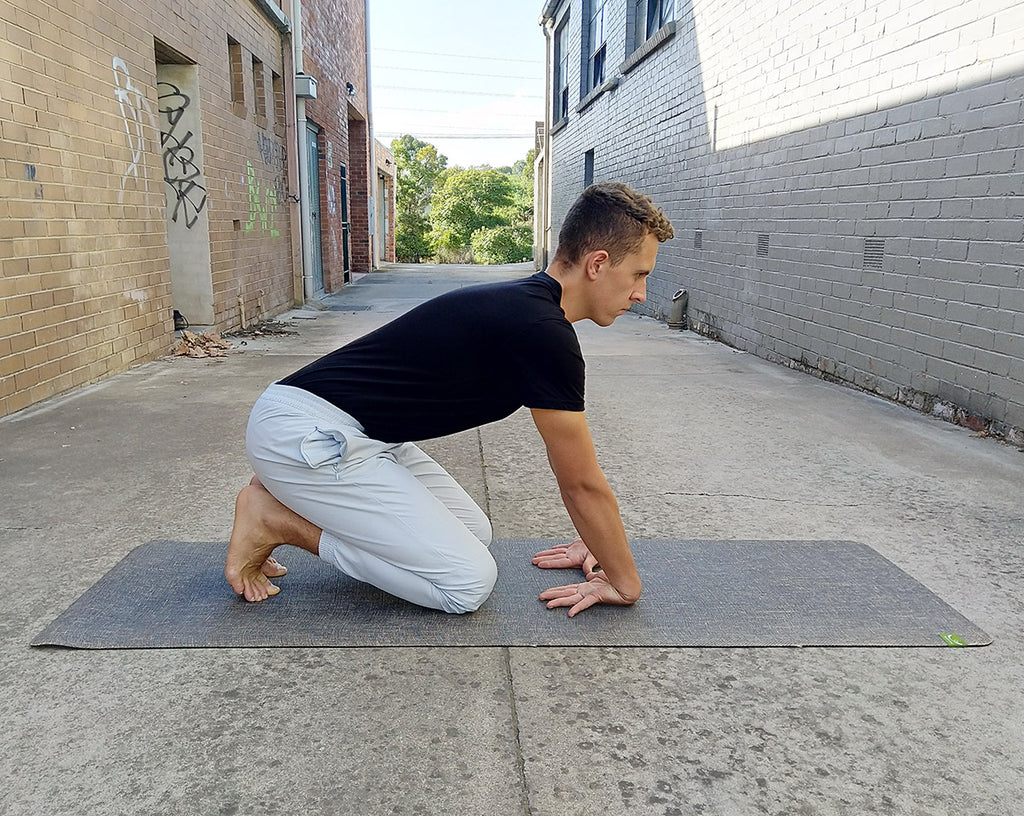
3. First knuckle raises
With palms down, raise the thumb
Lift up onto the knuckles of the hand
Lower back down keeping the thumb raised.
Do 15 repetitions
An ayurvedic perspective
According to Ayurveda, the traditional Indian system of healing, joint pain may be present due to an excess of Vata dosha. Associated with the air element, vata is cool and drying. As the wrist joint requires enough synovial fluid to perform optimally, it may be worth investigating ways to boost moisture in the body. Favouring warm, heavy and earthy foods and rubbing sesame oil into the affected joints are some examples to help bring vata back into balance.
You could also try yoga wind relieving series (Pawanmuktasana) of circular movements to decrease vata and increase lubrication of the joints:
Gentle wrist rotations:
From a comfortable seat or standing, raise the hands to shoulder height
Tuck the thumbs into light fists and draw circles with the hands
Do a few rounds in each direction
If your wrists could talk
While nobody likes to be in pain, it’s important to listen to these messages from the body. Rather than let wrist pain negatively impact your life and keep you off the mat, take the opportunity to practice compassion, self-healing and appreciation for all the wonderful ways our body moves.
With love, care and the right attitude, you’ll be back on the mat with happy wrists in no time!
And lastly, a friendly word of advice: for chronic or severe wrist pain, always seek the help of a medical professional.